


A specimen bag can protect the sample yet slow every handoff when the paperwork pocket faces the wrong way. I choose its position from the real workflow before bulk production.
Place the document pocket where staff can read forms without opening the specimen compartment. A back pocket commonly keeps paperwork behind a front specimen pocket, but a front pocket may suit one-sided workflows. Approve the orientation with real forms, labels, and representative samples.
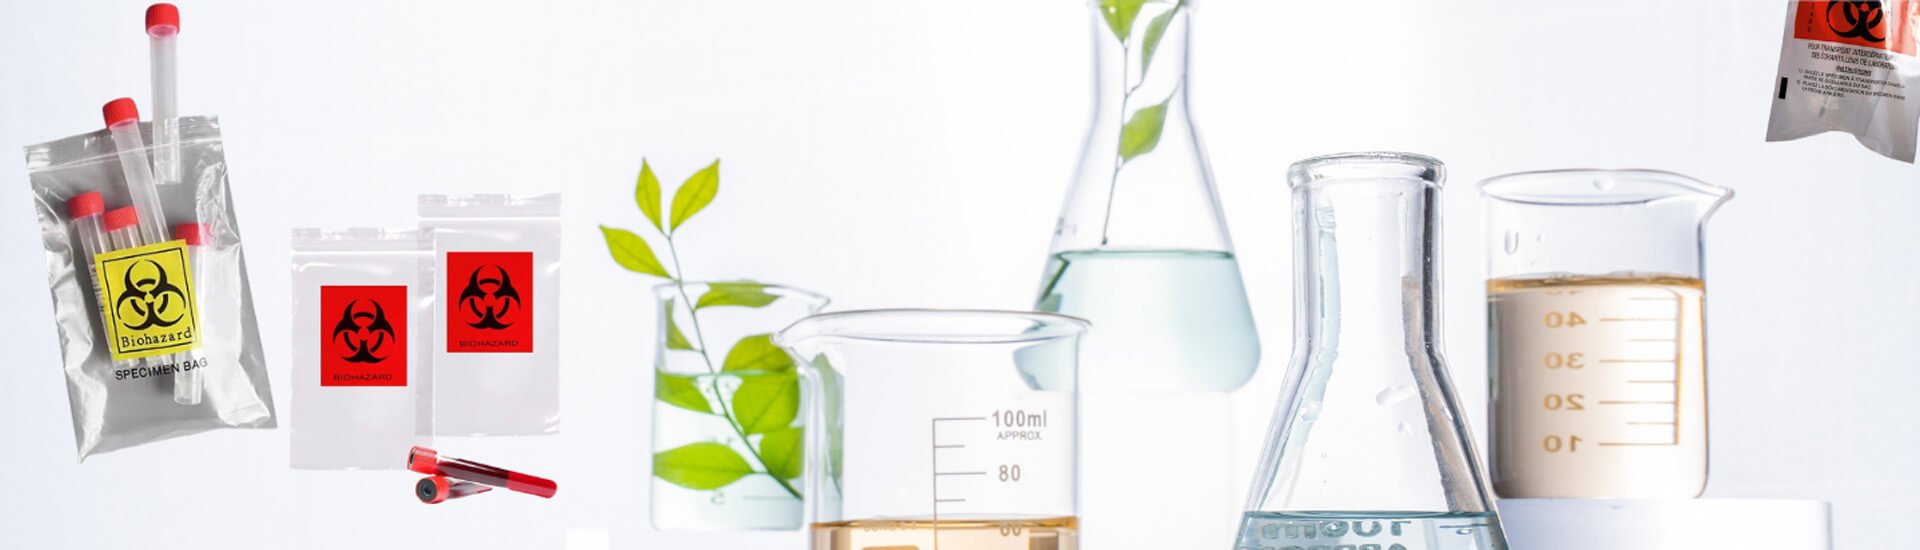
I use pocket placement as a workflow decision, not a decoration choice. The sections below explain the handling logic, drawing details, and sample checks that help buyers avoid an expensive orientation mistake.
What does front-pocket versus back-pocket placement change?
The wrong pocket position can make a correct bag feel awkward at every receiving desk. A simple front-versus-back decision should follow the handoff sequence.
The document pocket should keep paperwork separate from the specimen compartment while remaining easy to identify and read. A rear pocket is common when the specimen sits in front, but a front pocket can work when one-sided access is required.
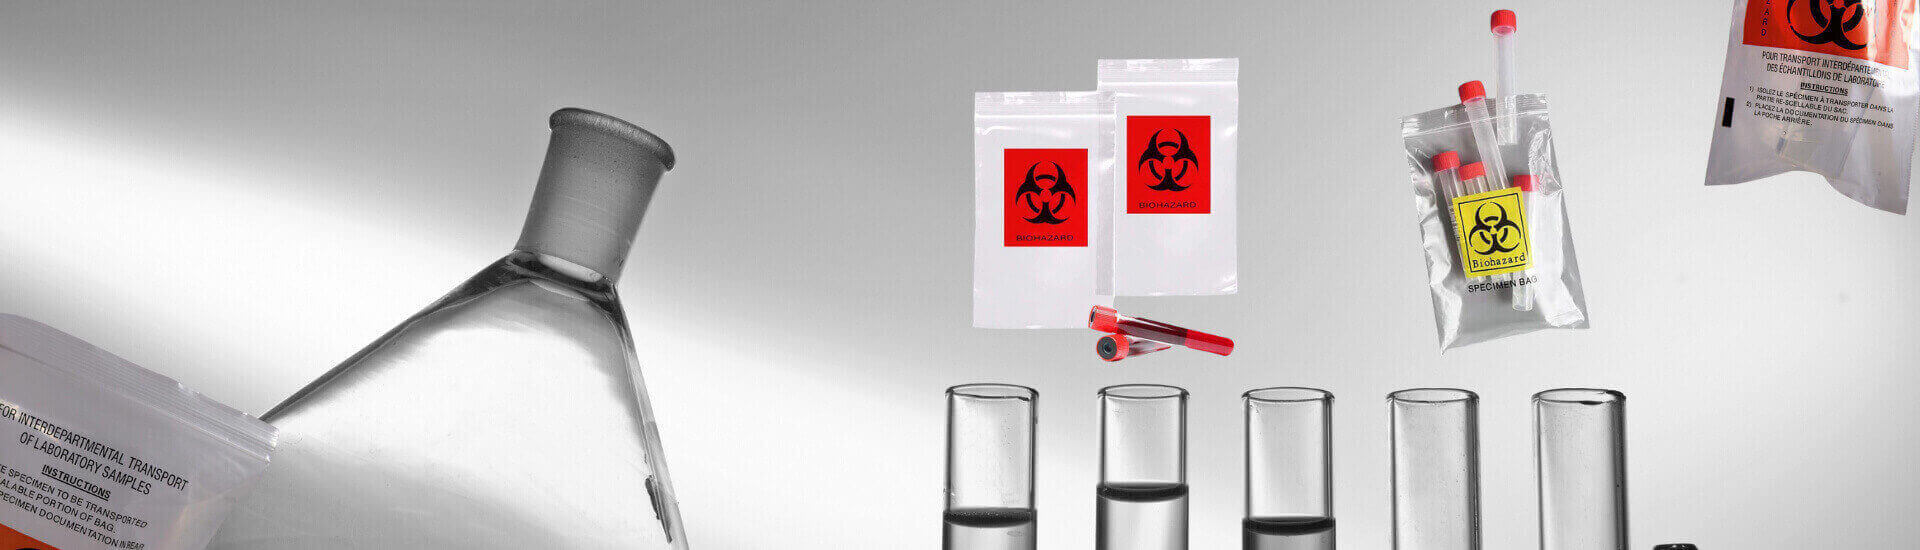
Placement changes access, visibility, and error risk
When I discuss a specimen bag with a buyer, I first ask which side the operator sees when the bag arrives. “Front” and “back” are only useful terms after we agree on a viewing direction. The front may mean the printed side, the side with a label zone, or the side held toward a scanner. A drawing should define that orientation with a clear outside view.
In a common workflow, the specimen compartment faces the handler and the requisition or chain-of-custody form sits in a pocket behind it. That arrangement separates the physical sample from paperwork without forcing the handler to open the sample area. A front document pocket can be practical when a worker must scan a barcode, read a form, or add paperwork without turning the bag. Neither position is automatically right for every facility.
I also distinguish visibility from access. A transparent front layer may make the contents easy to see, while a document pocket can be opaque or printed for privacy and writing contrast. Buyers should state whether the form must be visible through the material, visible after insertion, or removed for scanning. Those are different requirements.
| Workflow condition | Placement that often fits | Question to confirm |
|---|---|---|
| Specimen is checked first | Document pocket behind specimen | Can staff reach paperwork without opening the specimen compartment? |
| One-sided desk handling | Document pocket on the visible side | Does the pocket stay clear of the hand and scanner? |
| Frequent form replacement | Pocket with easy top access | Can a form be removed without disturbing the sample? |
| Bag viewed from both sides | Marked front/back orientation | Will every operator interpret the drawing the same way? |
I do not present this as a universal laboratory rule. I treat it as a practical packaging choice that must match the buyer’s documented process. XINYUAN’s laboratory specimen bags give buyers a real product reference, while the final pocket orientation remains part of the confirmed specification.
Which specimen workflow should decide the pocket position?
Two facilities may use the same bag differently. If the workflow is not mapped first, buyers can approve a pocket that looks neat but interrupts receiving, labeling, or dispatch.
Choose the pocket position by mapping who inserts the specimen, who inserts the document, which side faces the next handler, and when each item is read or removed. The best position minimizes turning, opening, and searching during those steps.
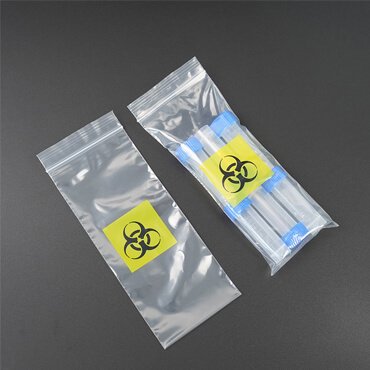
Map the handoff before selecting the artwork
I recommend that buyers write the handoff as a short sequence. For example: a collection point inserts a tube, a clerk adds a form, a receiving team scans the label, and a courier receives the closed bag. The sequence shows whether the document pocket needs to face the collector, the receiving clerk, or both. It also exposes conflicts. A pocket that is convenient for the collector may hide a barcode from the receiving scanner.
The bag’s contents matter as well. A single flat form behaves differently from several folded pages. A narrow tube may sit upright, while a larger container may push against a seam or pocket opening. Buyers should use representative contents when evaluating front and back placement, even if the final dimensions will change later.
I ask buyers to identify three physical reference points in the drawing: the specimen compartment, the document pocket, and the primary label or print panel. Then I ask which face is “out” during each handoff. That language prevents a common mistake where the factory and buyer use opposite views of the same bag.
| Step | Handling question | What to record for the specification |
|---|---|---|
| Collection | Which side does the collector hold? | Primary viewing face and opening direction |
| Documentation | Where is the form inserted? | Pocket side, access edge, and usable clear area |
| Receiving | What must be scanned or read first? | Barcode face, label zone, and line of sight |
| Dispatch | Is the bag turned or nested? | Orientation marks and stacking direction |
I also check whether staff wear gloves or handle several bags at once. A pocket that requires a fingernail to open may slow a high-volume process, while a wide opening may need a clear closing method. I do not infer those features from a product name. I confirm them through a drawing and sample.
Our biological specimen bag page shows that XINYUAN can discuss resealable strips and customized sizes. I use that flexibility to align the pocket orientation with the buyer’s actual workflow, not to promise a particular regulatory outcome.
How should the drawing and artwork define the pocket location?
Words such as “front pocket” can still produce opposite samples when a drawing lacks a viewing reference. A controlled artwork file turns the orientation into a measurable instruction.
Define front and back with an outside-view sketch, an arrow for the top edge, and named zones for specimen, document, label, and print. Add the opening edge and closure direction so the pocket cannot be flipped during prepress or sealing.
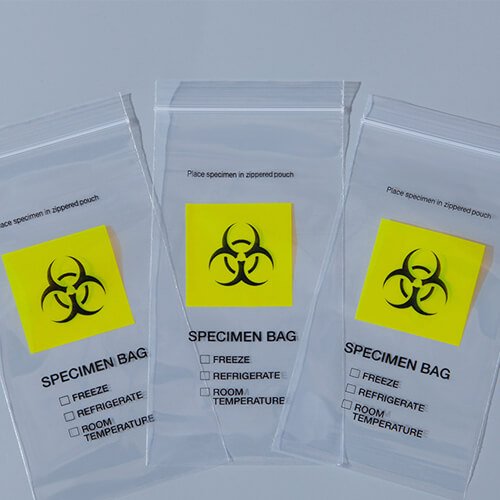
Put orientation into the revision-controlled file
I start the drawing with a simple statement such as “Front view: document pocket visible on the operator-facing side.” I then mark the top, bottom, left, and right edges. If the bag is reversible, I say so and identify the face that carries the main artwork. This matters because a pouch can be rotated 180 degrees while still looking symmetrical.
The drawing should show the pocket boundary, opening edge, and any overlap with the specimen compartment. It should also show where labels or printed warnings may sit. I avoid adding claims that the buyer has not supplied evidence for. Instead, I reserve clear space for the buyer’s approved wording and artwork.
For measurements, I separate outside dimensions from usable pocket space. The pocket’s finished opening, seam allowance, and insertion direction affect how a form fits. Buyers who need a detailed method can review our document pocket sizing guide, then return to this article’s orientation decision. Size and side are related, but they are not the same specification.
| Drawing item | Why I include it | Approval check |
|---|---|---|
| Front-view arrow | Removes opposite-view confusion | Buyer confirms the operator-facing side |
| Top and bottom marks | Prevents 180-degree rotation | Opening and label direction match workflow |
| Pocket opening edge | Shows insertion and removal path | Form enters without crossing the specimen area |
| Specimen compartment outline | Protects the intended sample zone | Sample sits in the named compartment |
| Artwork and label zones | Prevents visual obstruction | Barcodes and text remain readable |
| Revision and date | Controls later changes | Purchase order references the approved file |
I provide free artwork and typesetting service, which helps buyers turn these decisions into a clear production file. A printed pattern can require a plate fee because the plate-making factory produces the plate. If the same pattern is reused later, a new plate fee is normally not needed. I still ask the buyer to approve the orientation on the final proof before production.
How should buyers test front/back placement before bulk production?
A pocket can look correct on a flat proof and fail when a worker holds a filled bag. A short, realistic sample test catches that mismatch before a large order.
Test both orientations with representative forms, labels, and specimen substitutes. Confirm insertion, reading, scanning, closing, and removal in the same sequence that the buyer’s staff will use.
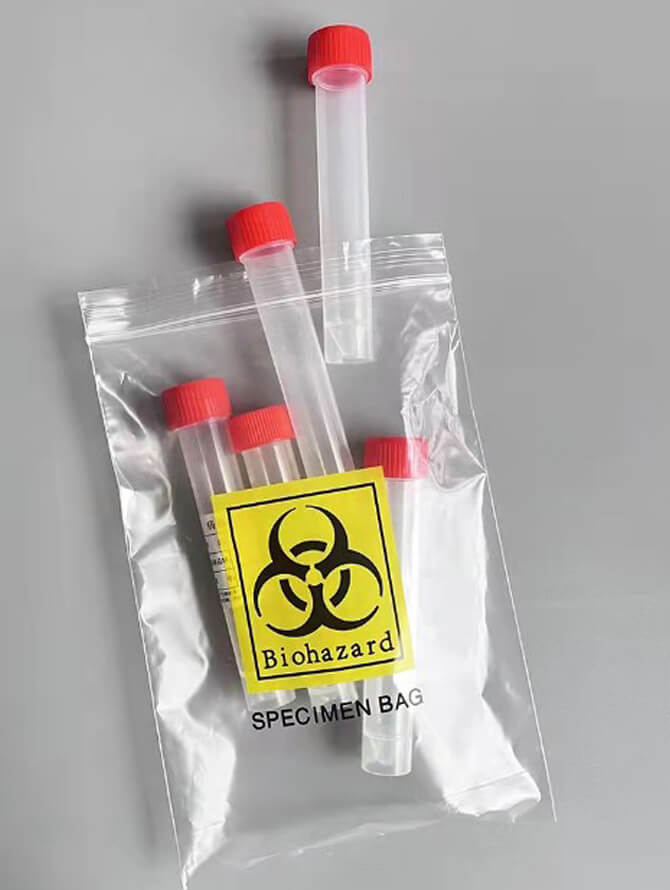
Use a written acceptance check
I suggest that buyers create a one-page sample check rather than relying on memory. The check can ask: Does the sample compartment face the intended handler? Can the operator insert the document without opening the specimen area? Can the next handler read the form from the expected side? Does the bag remain clearly oriented after it is placed in a tray or carton? Can staff remove or replace paperwork without disturbing the sample?
The test should use the buyer’s actual form size or a representative substitute. It should include any label stock, barcode placement, and writing tools used in the workflow. If a scanner is part of the process, the buyer should scan the label from the planned viewing angle. If several bags are nested, the buyer should check whether the back pocket is hidden or compressed.
I recommend recording defects by location and revision. “Pocket wrong” is not enough. A useful note says, for example, “Document pocket appears on the opposite face from the approved front-view drawing.” That wording gives the factory a clear correction path. The buyer should approve one marked sample and retain the approved drawing with the purchase documents.
| Test | Pass condition | Evidence to retain |
|---|---|---|
| Orientation | Front and back match the drawing | Dated photo or signed sample |
| Form insertion | Form enters without disturbing specimen area | Filled sample and operator note |
| Readability | Required text or barcode is visible | Scan result or inspection photo |
| Closure | Bag closes in the intended direction | Closure check on filled sample |
| Handoff | Next handler reaches the document as planned | Short workflow sign-off |
XINYUAN provides free in-stock samples when a suitable stock format exists. A separately produced custom sample may require a sample fee; for a later bulk order, we can return or deduct that fee subject to the confirmed quotation. Our integrated production system and production organization support large orders, but I still treat the approved sample and drawing as the control point for repeatable supply.
Conclusion
Choose the document-pocket side from the real handoff, define it on a controlled drawing, and approve it with filled samples before ordering in volume.