


A heat-seal bag can look correct yet slow filling or waste seal area when the wrong edge stays open. We prevent that mistake before production.
Buyers should leave open the edge that gives their filling equipment the straightest, widest access while preserving enough clean film for the final seal. We confirm the opening, seal allowance, artwork direction, and opening features together before production.
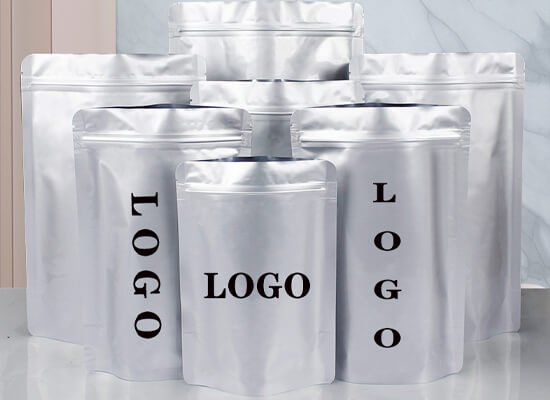
We use the four checks below to turn “open-ended bag” into a production-ready specification that a buyer, packer, and bag manufacturer can interpret the same way.
How Does the Filling Process Determine Which Edge Stays Open?
The easiest-looking opening is not always the fastest one on the packing line. A wrong choice can cause spills, awkward handling, and inconsistent final seals.
The filling process should decide the open edge. We normally favor the edge that fits the loading motion, product shape, filling nozzle, and sealer orientation without forcing operators to rotate or distort the bag.
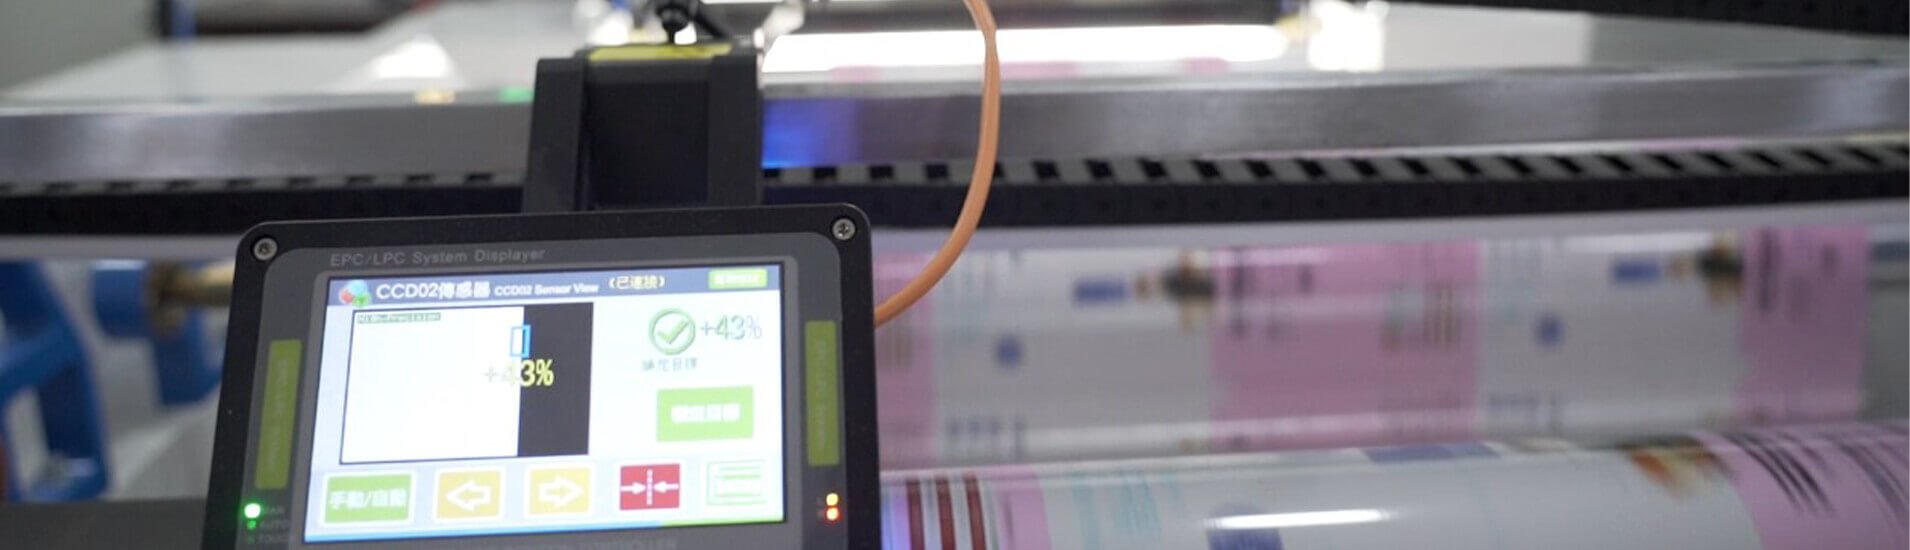
We map the actual packing sequence
We first ask how the empty bag is picked up, opened, filled, transferred, and sealed. A buyer who fills by hand may need a wide mouth that stays stable on a table. A buyer who uses a chute or nozzle may need the opening to arrive at a fixed angle. A long or rigid item may enter more smoothly through a short side, while a loose product may be easier to control through the full bag width. These are process questions, not style preferences.
We also separate the bag's nominal dimensions from its usable opening. Side seals, gussets, zippers, and the final closure zone can reduce the clear space available for loading. We therefore ask for the product's largest cross-section, not only its net weight. We also ask whether the product is inserted as one piece, dropped as loose units, or dosed through equipment. A physical product or a reference bag can resolve questions that a simple width-by-length note cannot.
| Filling situation | Opening direction we evaluate first | Reason we evaluate it |
|---|---|---|
| Loose product through a chute | Edge aligned with the chute and widest clear mouth | The alignment can reduce interference during dosing |
| Flat, long, or rigid item | Edge that follows the insertion direction | The item can enter without excessive bending or scraping |
| Manual packing | Edge that operators can open, hold, and present consistently | The handling sequence affects speed and repeatability |
| Vacuum or chamber process | Edge compatible with the chamber and seal bar | The mouth must reach the sealing position cleanly |
Our custom heat-seal bag page shows the product family that supports this discussion. We do not select an open side from the web page alone. We confirm it from the buyer's filling sequence and final closure method.
How Much Film Should Remain for the Final Heat Seal?
A generous-looking bag can still leave too little clean film for the buyer's sealer. Product dust, oil, wrinkles, or overfilling can then interfere with closure.
The required seal allowance depends on the sealer, film structure, product, and process control. We reserve a dedicated clean closure zone and confirm its position against the equipment before fixing the bag length.
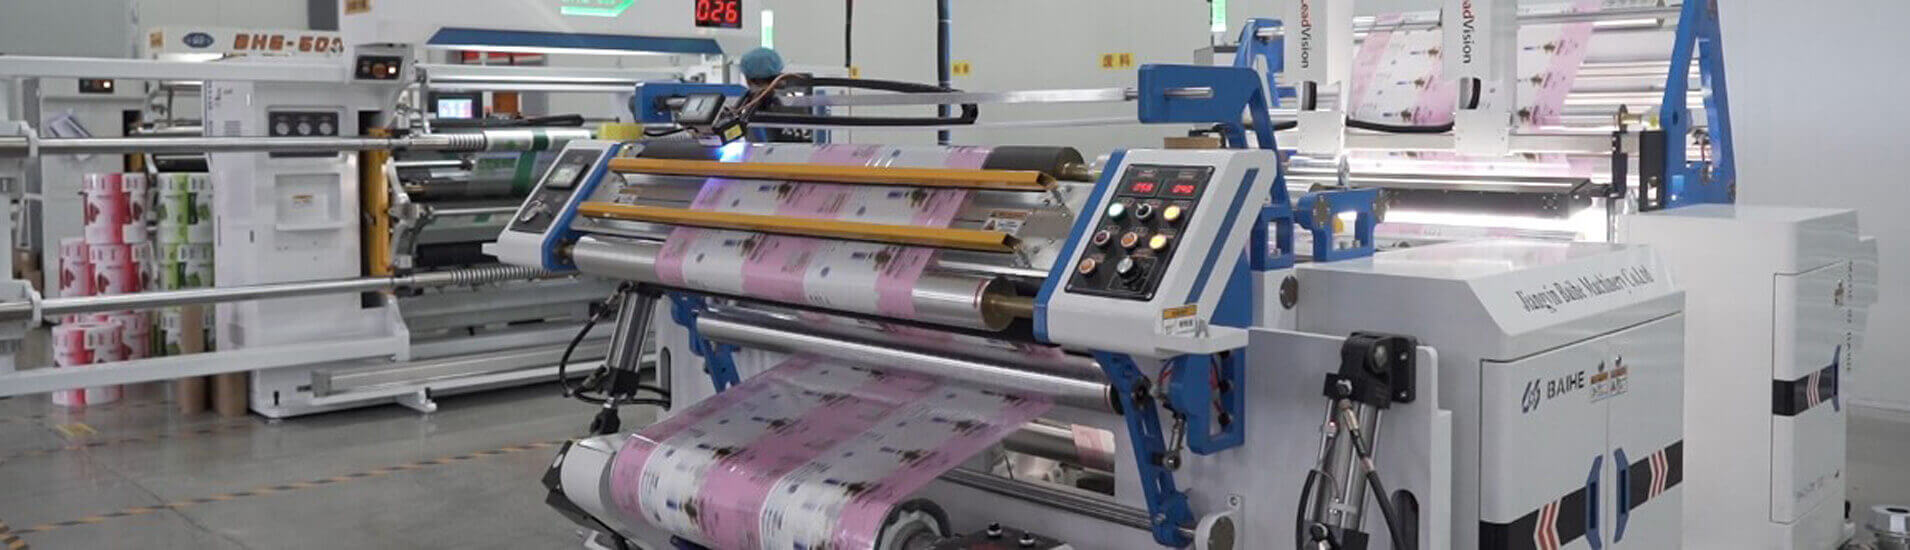
We distinguish total size from usable fill space
We treat the final heat-seal zone as functional space, not spare space. The buyer cannot count that area as product capacity. We therefore work backward from the target fill, the product's settled shape, and the point where the seal bars will contact the pouch. If the buyer needs headspace for handling or product movement, we include that requirement separately. We avoid giving a universal seal width because different sealers and packaging structures can require different settings and contact areas.
Contamination risk also changes the decision. Fine powders can settle near the mouth. Liquids can splash. Oily products can coat the inner sealing layer. Large or sharp pieces can hold the faces apart. The buyer's filling controls may reduce these problems, but the bag layout still needs enough accessible film for a controlled final closure. The opening should also lie flat in the sealing equipment without a zipper end, folded gusset, thick overlap, or accessory entering the wrong part of the seal bar.
| Dimension to confirm | What we need from the buyer | What the decision protects |
|---|---|---|
| Finished outside size | Width, length, and any gusset in one agreed order | It prevents reversed or ambiguous dimensions |
| Target fill | Weight or volume plus the product's physical shape | It separates capacity from outside size |
| Final closure zone | Sealer type, bar direction, and required position | It keeps functional seal space available |
| Headspace | Process reason and target amount | It avoids accidental under-sizing or needless material |
We can review an in-stock sample first because we provide free in-stock samples. If the buyer needs a separately produced custom sample, a sample fee may apply. We can return or deduct that fee from a later bulk order, subject to the confirmed quotation.
How Should Artwork, Zippers, and Tear Notches Follow the Open Side?
An isolated opening decision can turn the graphics upside down or place an easy-open feature on the wrong side of the final seal. The complete layout must move together.
We align the open edge with the front-panel orientation, final seal, zipper, tear notch, gusset, and display direction. The approved drawing should show every feature from one consistent viewing direction.
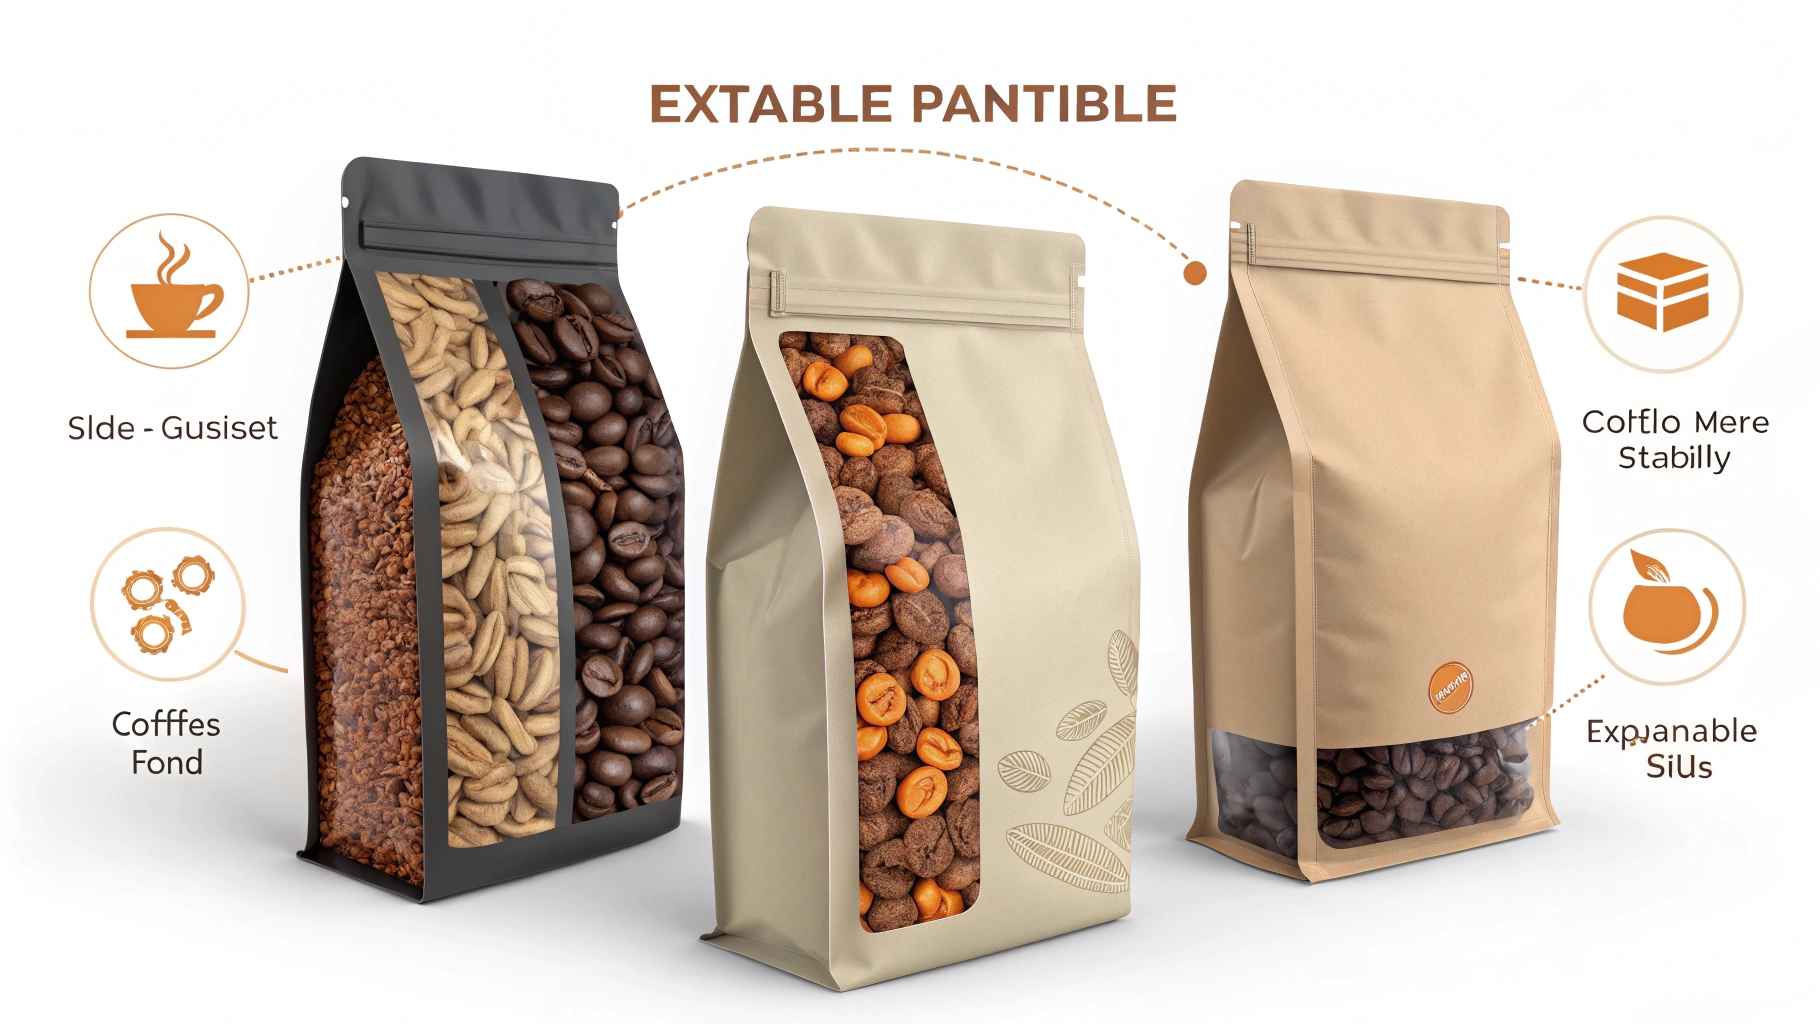
We recommend a marked flat drawing instead of phrases such as “open at the top” without context. The drawing should identify the front and back, finished width and length, open edge, factory-made seals, buyer-made final seal, print direction, and any feature locations. A filled-pack sketch or product photo can show which end the retailer and consumer will consider the top. This step prevents the supplier's manufacturing view from conflicting with the buyer's shelf view.
A zipper changes the filling sequence because the buyer may fill from an area above or below it, depending on the construction. A tear notch must sit where the consumer can reach it after the buyer makes the final seal. A gusset must expand in the intended direction and should not obstruct the loading path. A hang hole or Euro slot must remain in a header area that is not consumed by the final seal. Each feature uses space, so the drawing should show relationships rather than a list of independent options.
| Layout item | Question we place on the approval drawing |
|---|---|
| Artwork | Which panel faces forward, and which direction is upright after filling? |
| Final seal | Which edge does the buyer close, and where do the seal bars land? |
| Zipper | Does filling occur through the zipper opening or another open edge? |
| Tear notch | Does the notch remain accessible after the final seal is made? |
| Gusset or hang feature | Does the feature conflict with filling, sealing, or display? |
We provide free artwork and typesetting service to help buyers prepare this layout. Printed artwork requires printing plates, so a plate fee may apply and is paid to the plate-making factory. A buyer should approve the opening and orientation before plates are made, because a later layout change may affect the printing pattern.
What Should Buyers Approve Before Bulk Production?
A signed artwork file does not prove that the bag will move smoothly through the buyer's real packing process. Production approval needs both document checks and a practical trial.
Buyers should approve a dimensioned drawing, representative sample, filling trial, final-seal result, artwork orientation, and written purchase specification before bulk production. Every approved reference should carry a clear version.
We use a controlled approval path
We start with a written specification that names the bag style, dimension order, opening edge, factory-made seals, material structure agreed for the project, quantity, printing status, and accessories. We then connect that specification to a drawing and sample. The buyer should test the sample with the intended product and the actual filling and sealing equipment whenever possible. A substitute product or tabletop check may miss how powder, liquid, product edges, or line handling affect the open mouth.
The trial should confirm that the product enters without damaging the bag, the target fill fits without using the closure zone, and the mouth reaches the seal bars without twisting. The buyer should also check the filled pack's appearance, print orientation, opening experience, and downstream handling. The buyer remains responsible for defining the required tests and acceptance criteria for the packed product and destination market. We can use our export experience to flag avoidable sourcing or shipping questions, but that support is not legal advice or universal compliance coverage.
| Approval record | Minimum point to capture |
|---|---|
| Specification | Revision, dimensions, opening edge, structure, features, and quantity |
| Drawing | Front/back orientation, seals, print direction, and feature positions |
| Sample | Sample type and whether it represents final materials and construction |
| Filling trial | Product, equipment, fill amount, handling result, and observations |
| Final approval | Authorized version, date, and agreed change-control method |
Our integrated production system covers raw-material production through finished products, and our equipment and production organization support large orders and long-term supply. We still rely on a precise approval record because stable production starts with stable inputs. Buyers can review our manufacturing process and send the agreed details through our quotation page.
Conclusion
We choose the open edge around filling access, clean seal space, feature orientation, and a documented line trial so the approved bag fits the real packing process.